
In this simple Ventoy Tutorial / Ventoy guide, you will learn how to easily create a USB multiboot stick with Ventoy.
1. Download Ventoy
Download the latest version of Ventoy.
For Windows, download ventoy-x.x.xx-windows.zip.
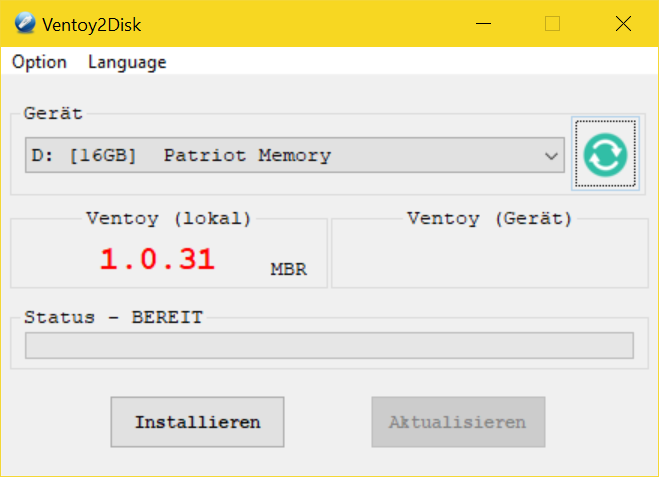
2. Start Ventoy2Disk.exe
Launch Ventoy2Disk.exe and set the language to German, if necessary.
Select your USB stick and press install.
3. Confirm the warning

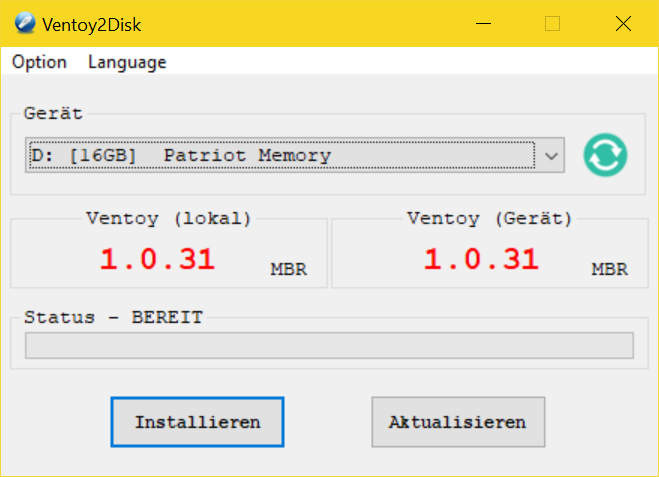
4. Ventoy is now already installed
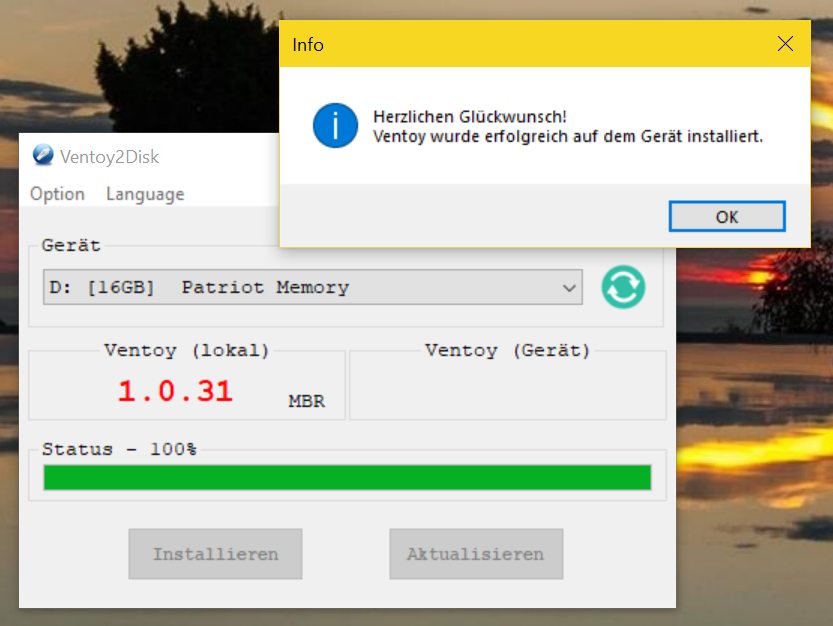
After confirming the information box, the installed version of Ventoy will be displayed. Now Ventoy2Disk can be closed and the USB multiboot stick can be used.
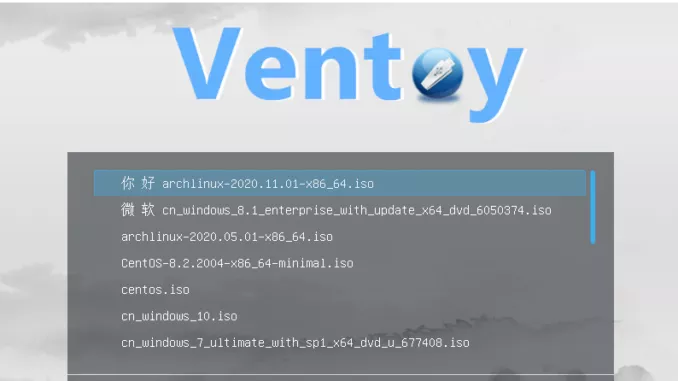
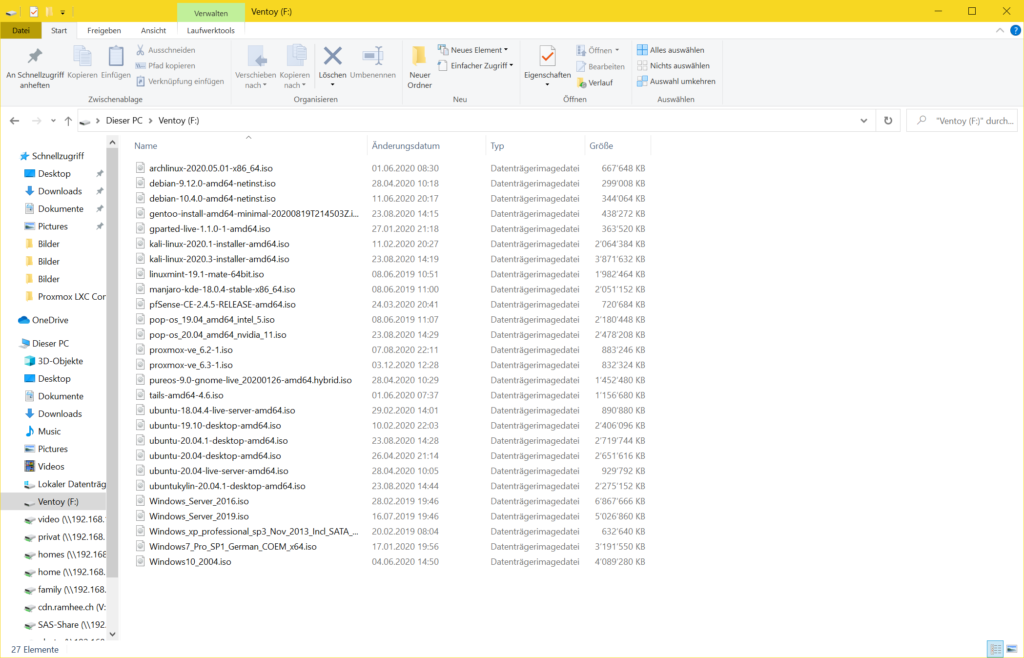
5. Copy any number of ISO images to your Ventoy USB multiboot stick
If you are looking for good Linux distributions, here is a list of the top 5 distributions.
Solve possible problems
- An ISO is not displayed.
Check if the ISO file name contains any spaces or other special characters. - A Windows 7 ISO is not displayed.
Possibly, the USB 3 driver in the ISO is defective. - UEFI Boot does not work
Secure Boot has been working since Ventoy-1.0.07, please use the latest version.
More information can be found in the FAQ at ventoy.net.


Leave a Reply