

In this article you will learn in 10 simple steps how to install Proxmox Container (Proxmox LXC Container). If you want to learn more about Linux containers, you can find out more at proxmox.com.
If you want to create a (Qemu) VM instead, there is also a simple tutorial on Technium.
Proxmox Containers (LXC) have many advantages and among other things there are templates for some applications such as TurnKey OpenVPN.
1. Install Proxmox Container – Download CT Template
Click on your corresponding storage, on CT Templates and then on Templates to add a template.
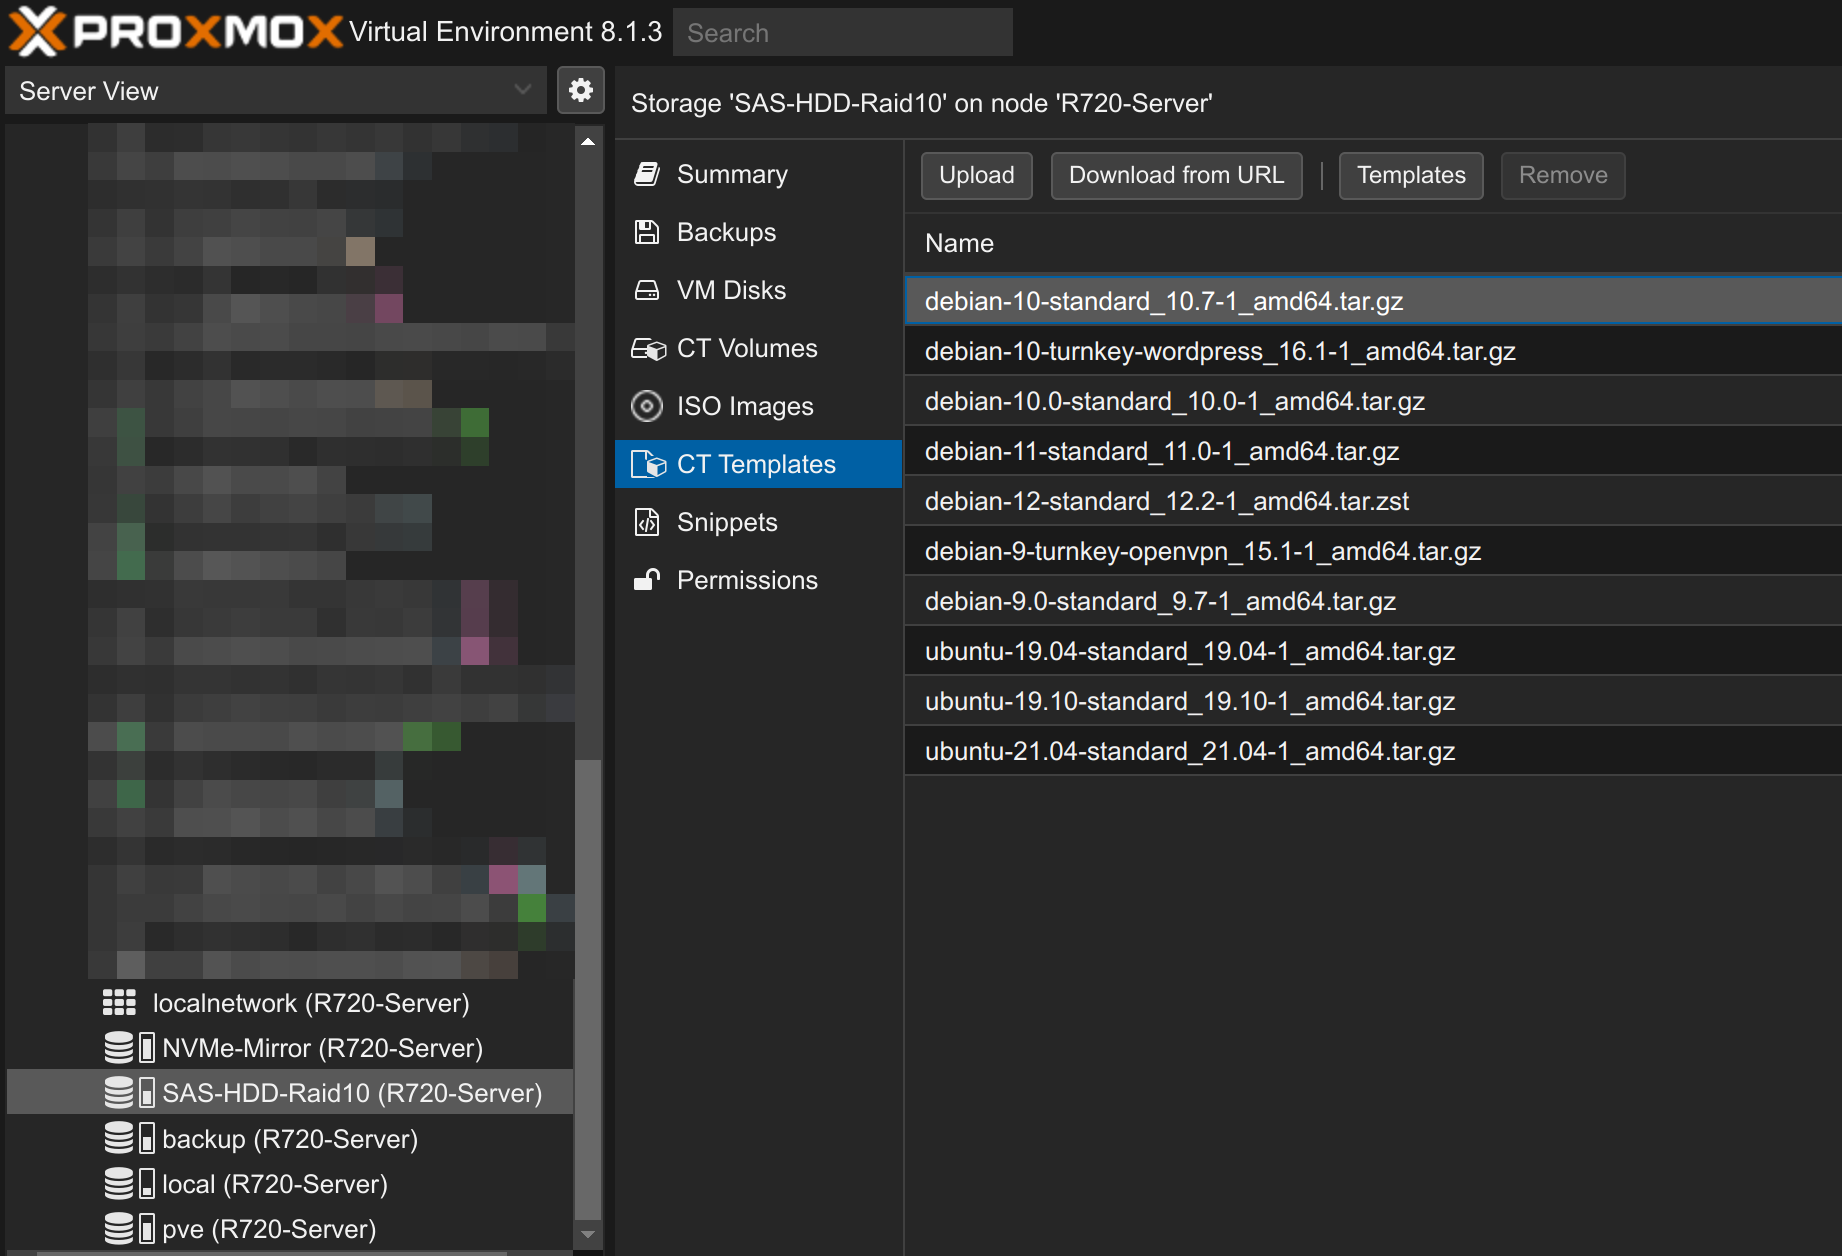
Then select the appropriate template and click on Download.

2. Install LXC Proxmox Container – General
Click on Create CT at the top right.
Then enter the host name and a secure password and click Next.
If necessary, you can manually adjust the Proxmox container ID, select a different node or resource pool, deactivate nesting, privilege the container (not recommended in most cases) or add your SSH public key to access the container via SSH.

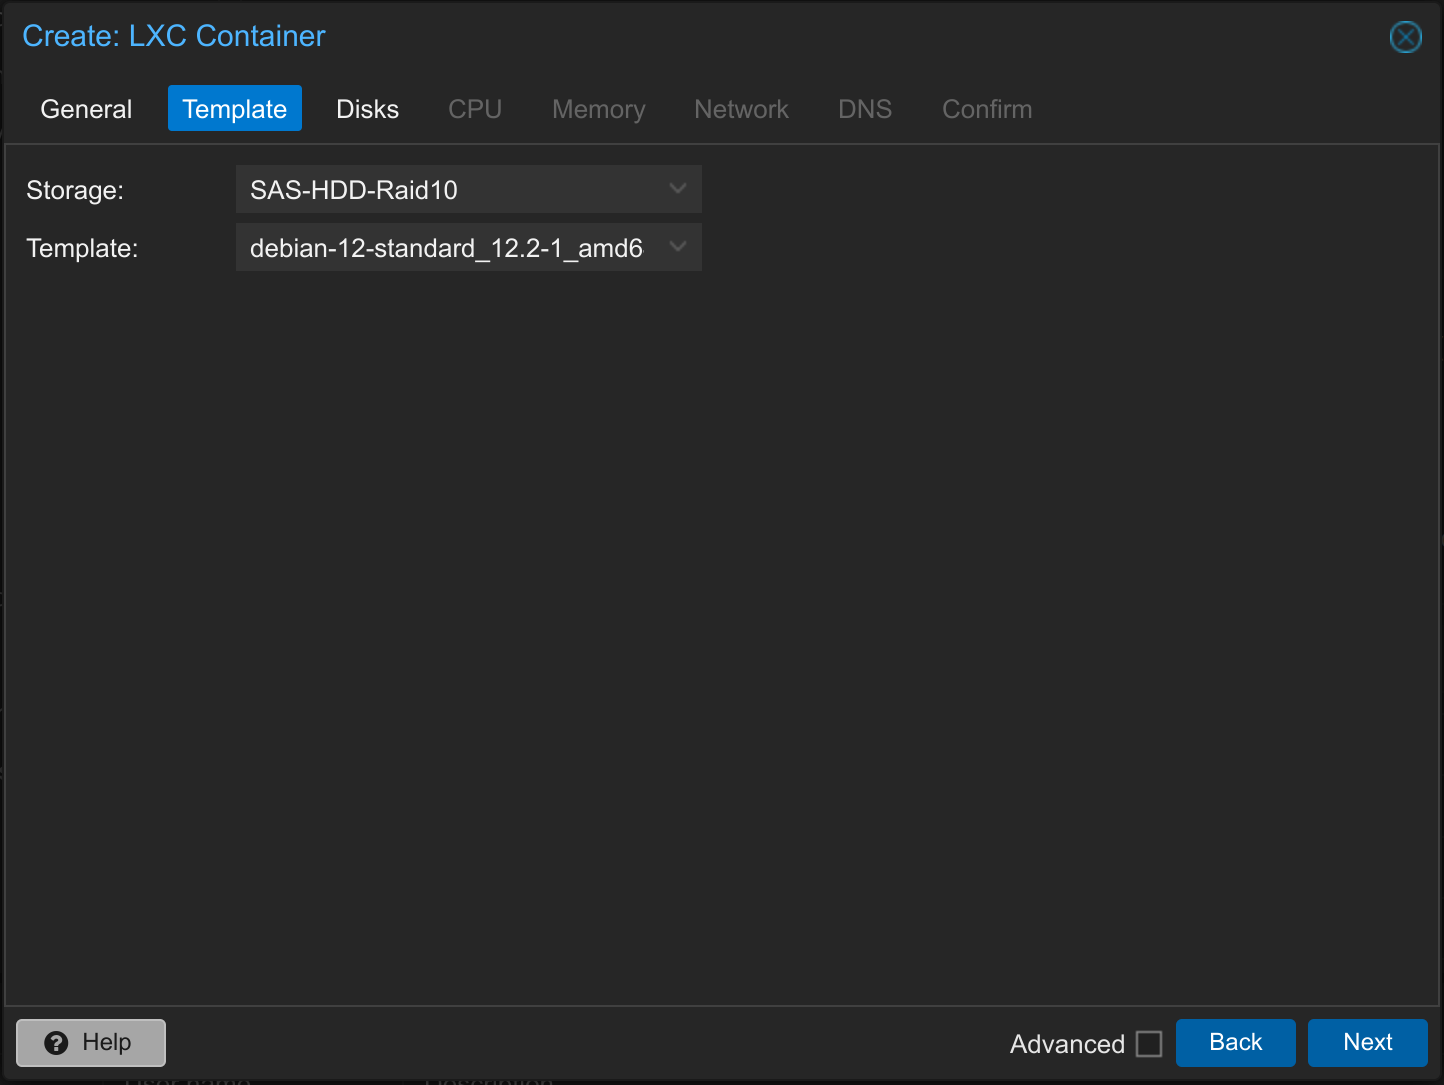
3. Install LXC Proxmox Container – Template
Select the storage on which you have saved the template and select the template. Then click on Next.
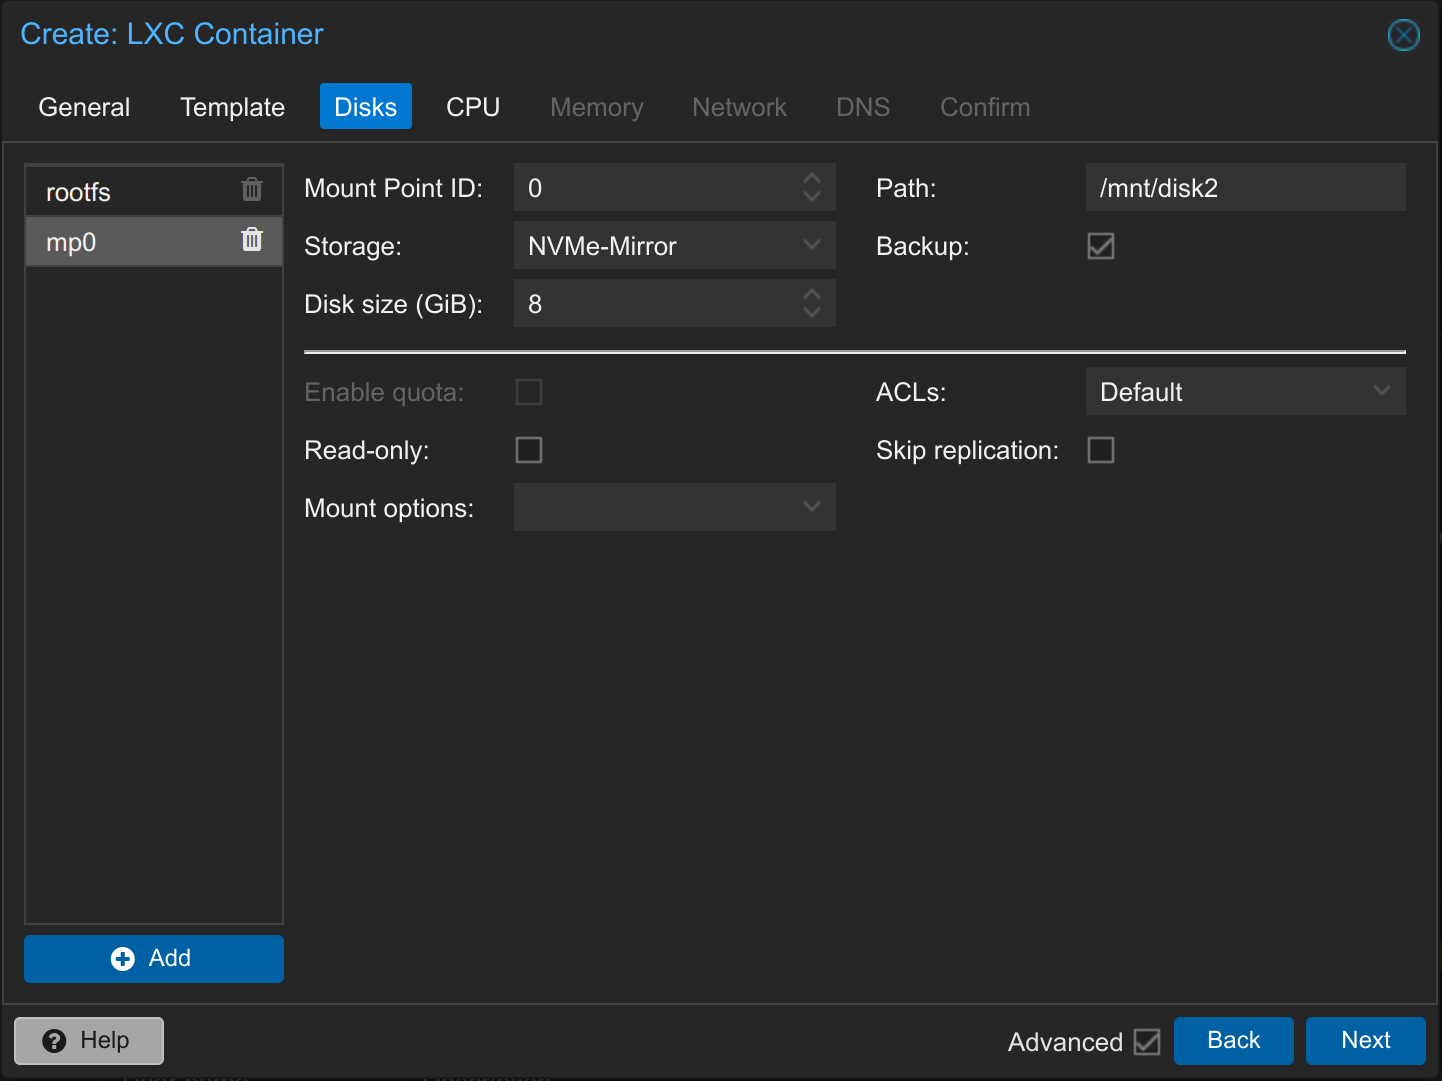
4. Install LXC Proxmox Container – Root Disk
Select your storage and set the disk size. This can be increased very easily afterwards and also during operation. A Debian 12 LXC container, for example, requires approx. 500MB.
You can leave the Advanced Options at default.

If necessary, add another disk. If you add another disk, enter the path in which the disk should be mounted. You can also deactivate backup for the disk to save storage space. This can be useful in special cases. For example, if you only save unimportant files in the folder which don’t need a backup.
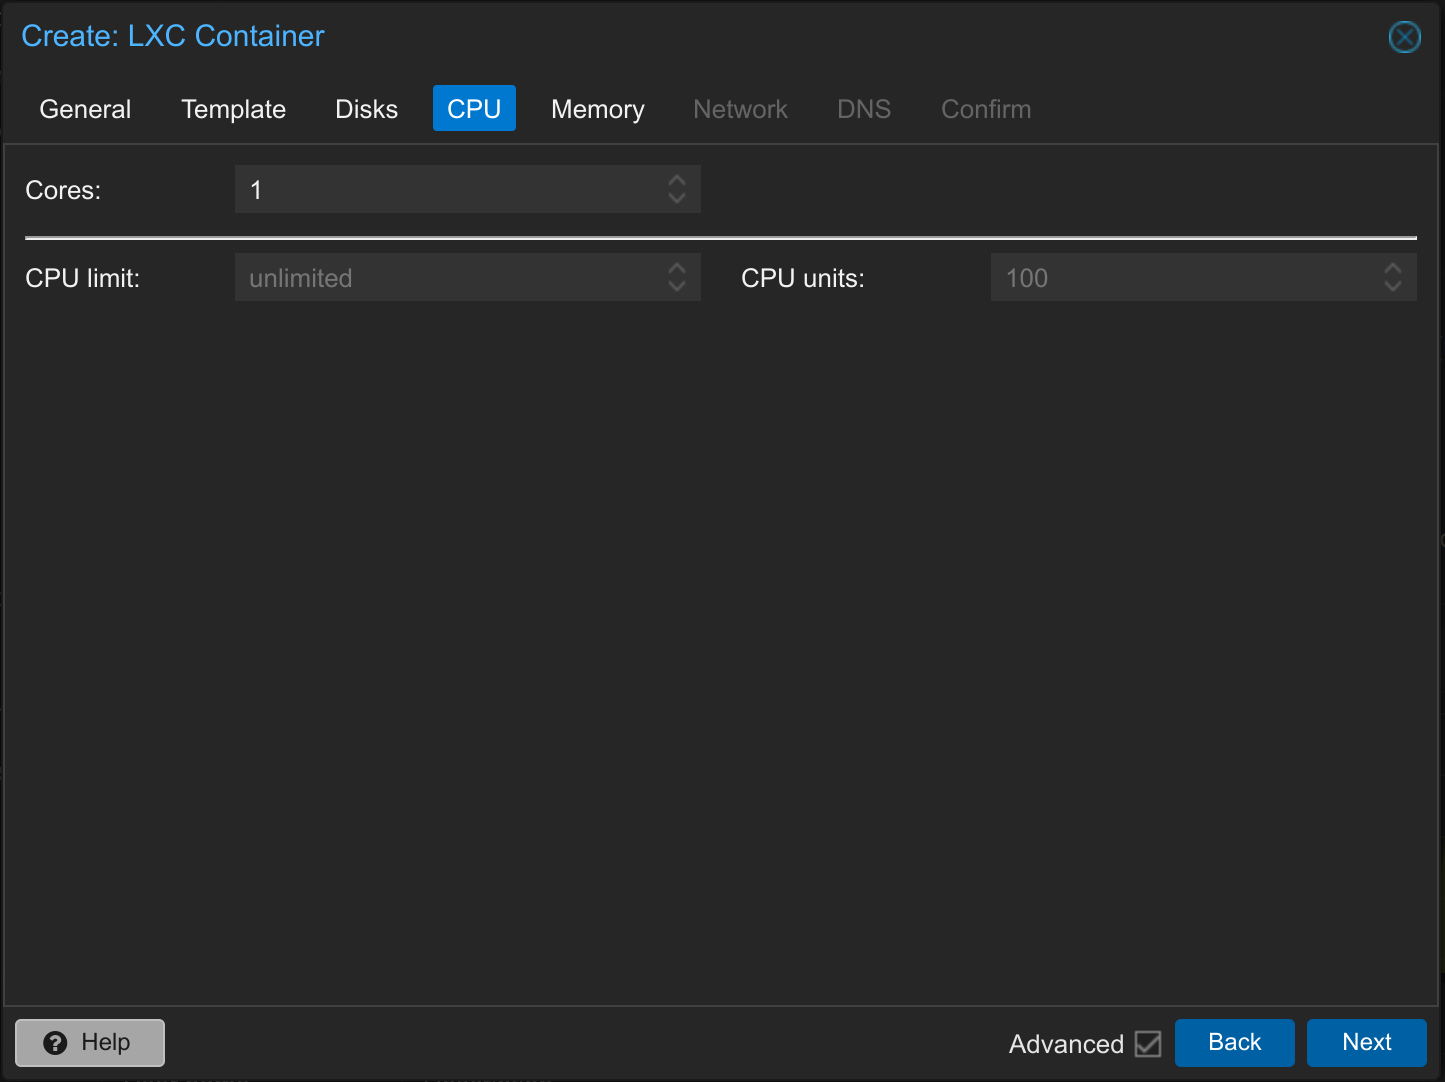
5. Install LXC Proxmox Container – CPU
Set the required CPU cores – for many LXC containers, one CPU core is sufficient.
You can normally leave the Advanced Options set to Default. However, if you want to limit the total CPU utilization of the LXC container on the server, you can set CPU limit to 1, for example. This would mean that the CPU of the host (Proxmox server) may have a maximum utilization of one core by the corresponding container.
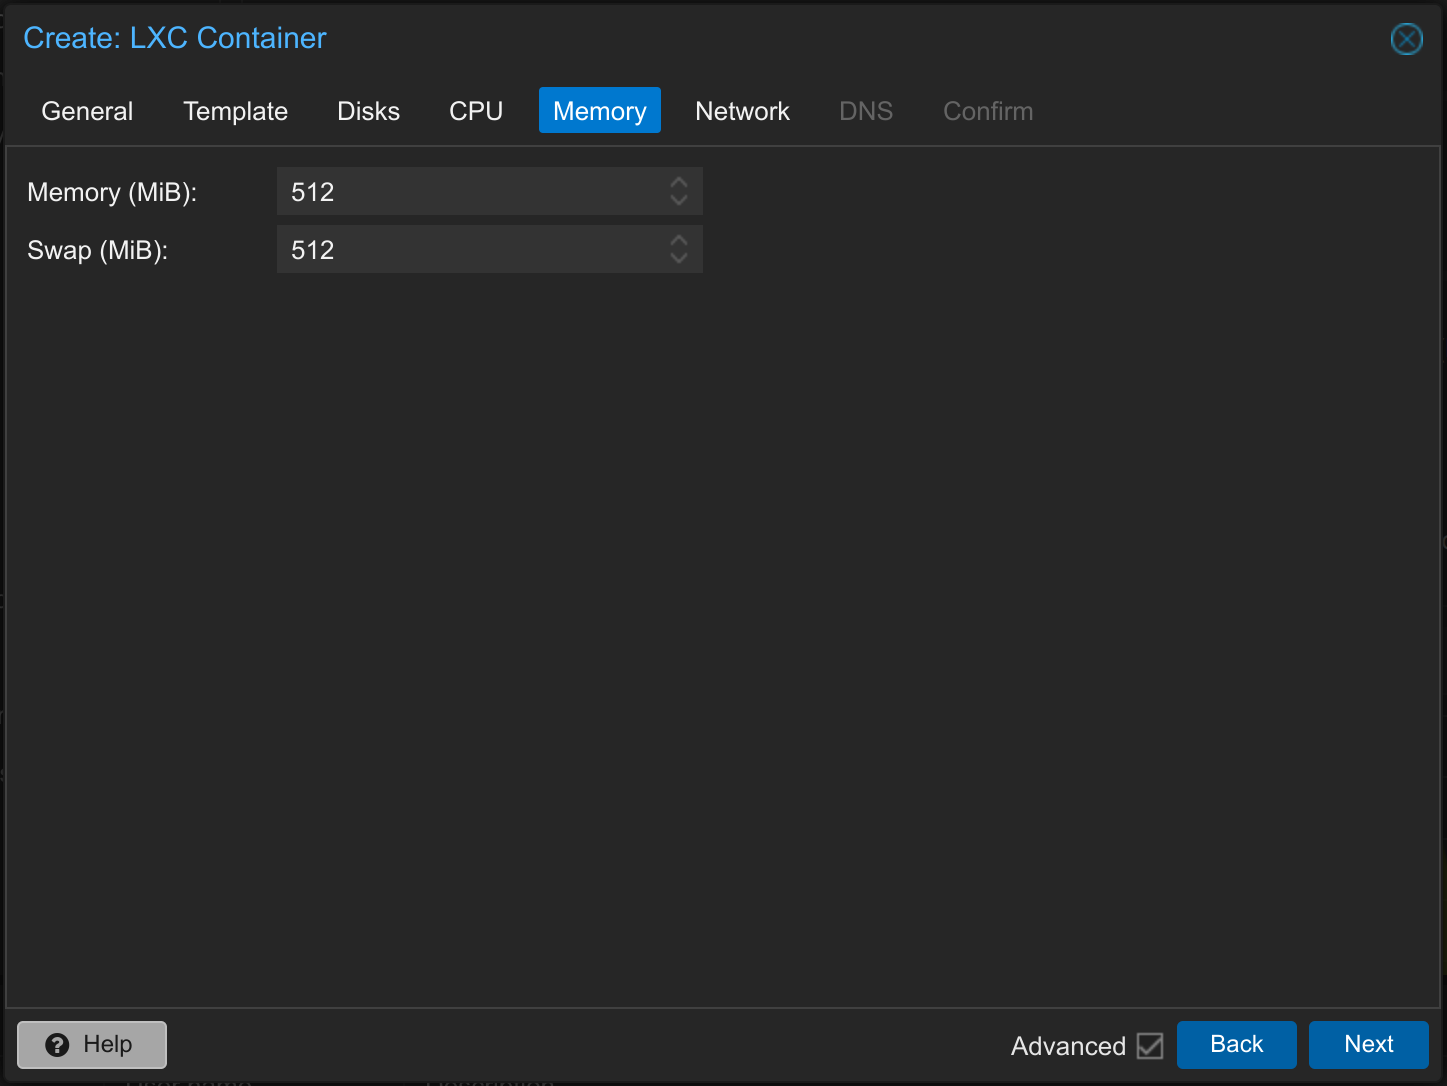
6. Install LXC Container – Memory
Use memory and swap according to your needs. For example, for a Debian 12 LXC container with a small web server and nginx reverse proxy, 512 MB of RAM is sufficient.
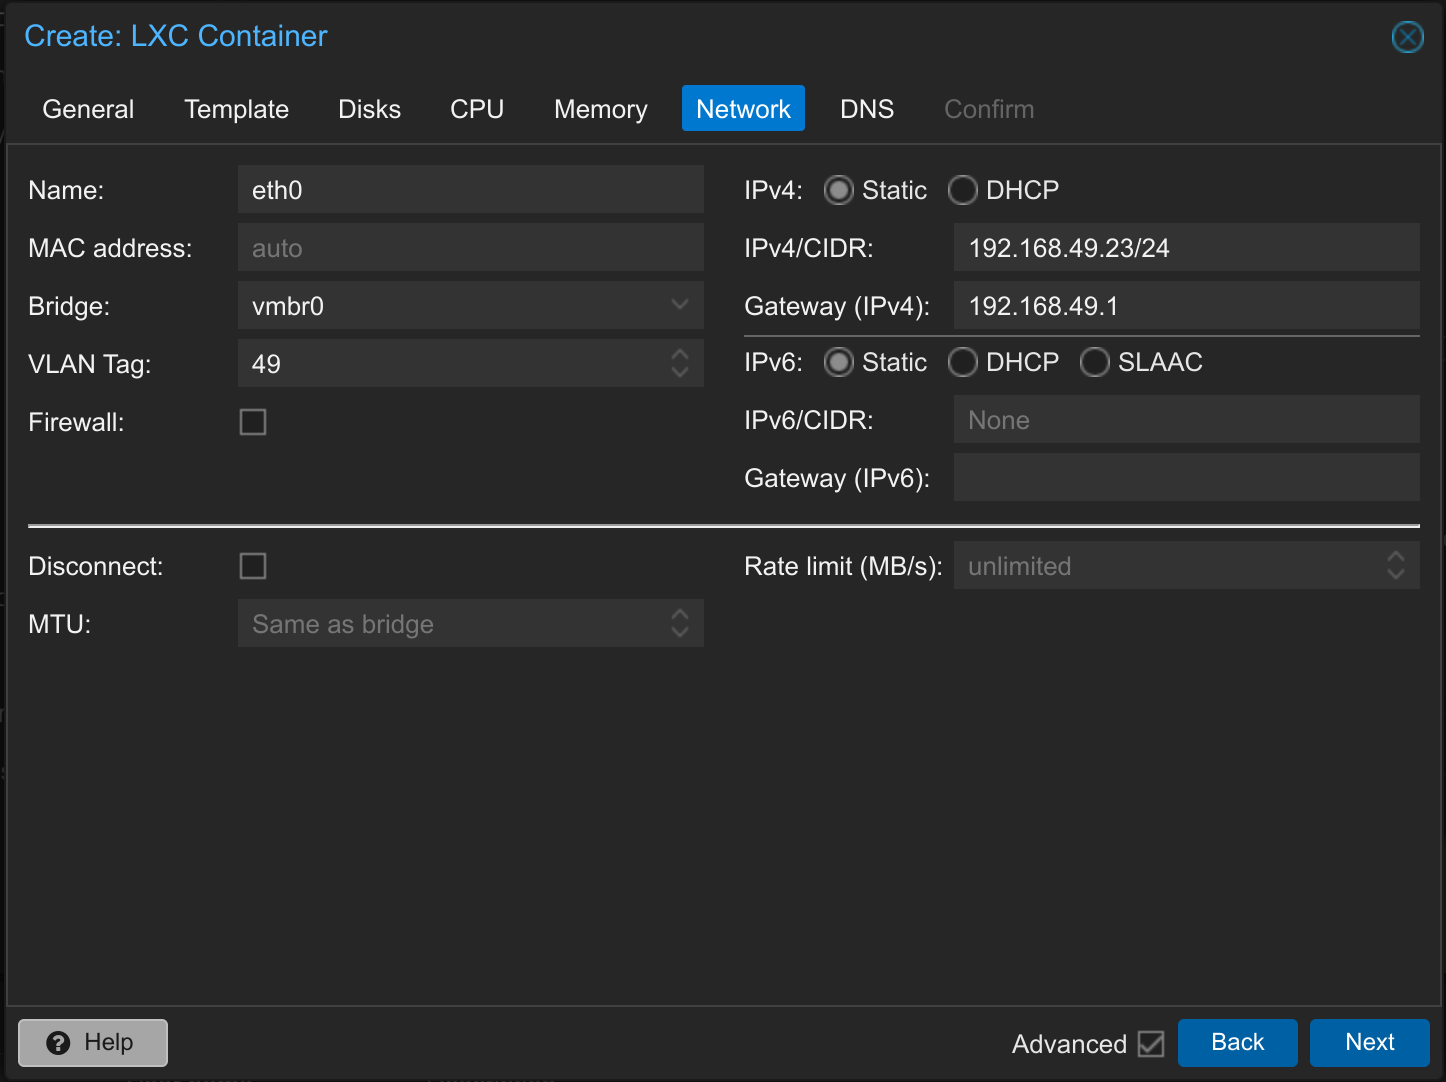
7. Install LXC Container – Network
Set an IPv4 address and the gateway. If necessary, also an IPv6. You can also deactivate the firewall if it is not configured. You probably only have one bridge; if you have several, select the appropriate bridge. You can also select a VLAN Tag, if you are using a VLAN.
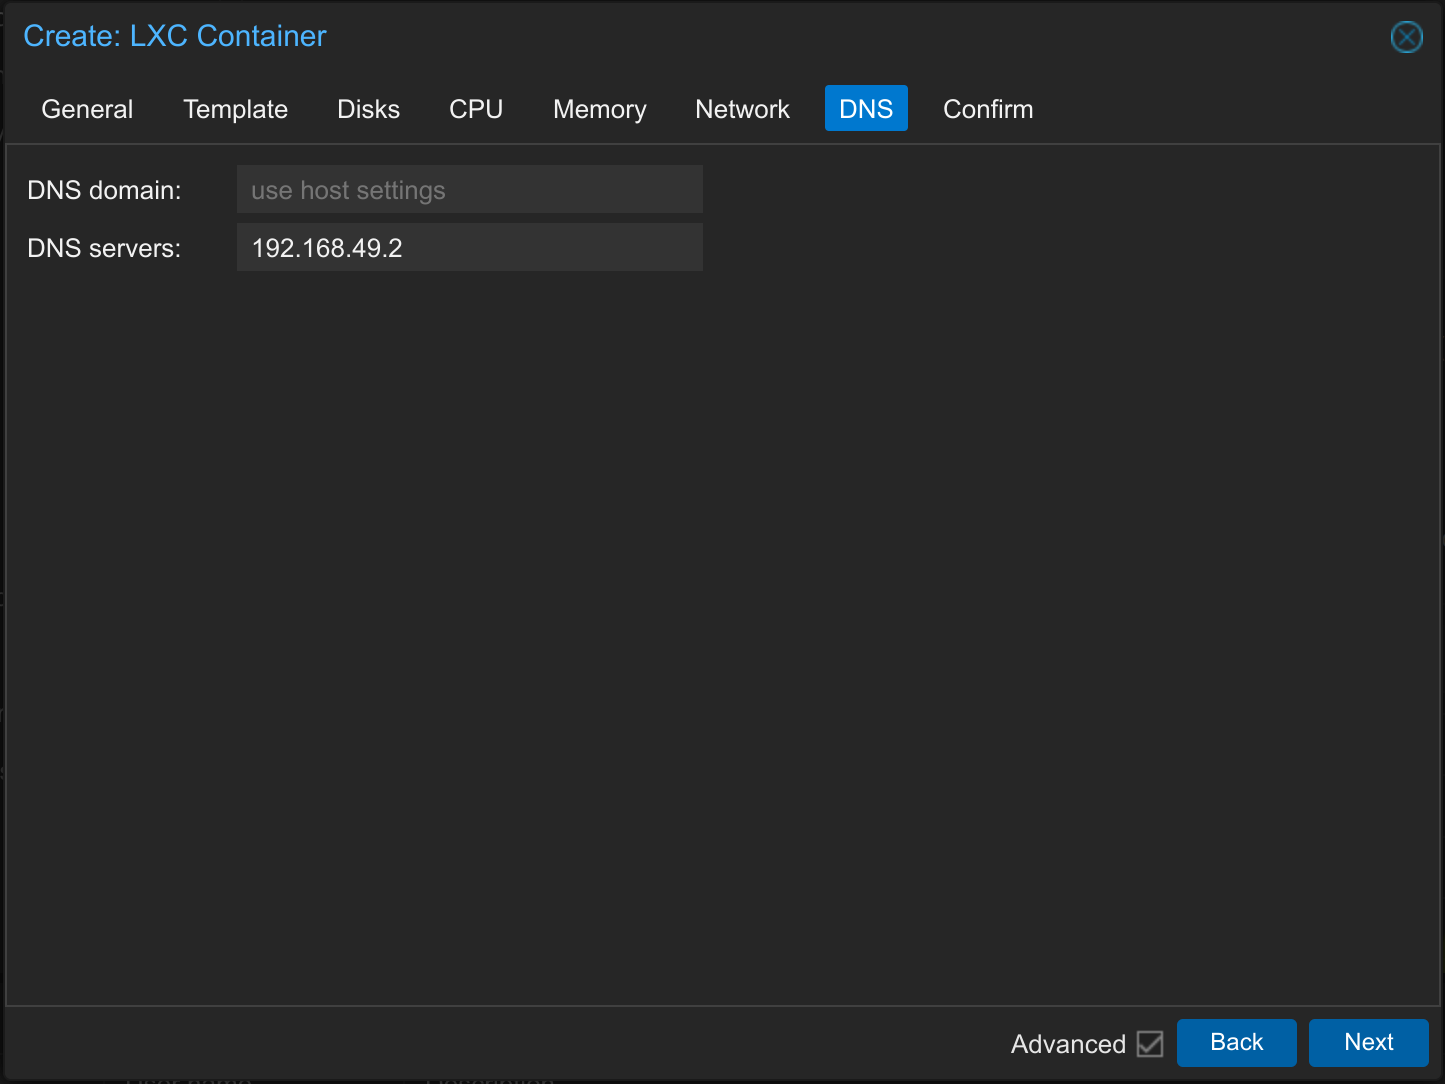
8. Install LXC Container – DNS
Set DNS domain and DNS servers (not mandatory). You can set any DNS server or simply the IP of your firewall or router. In my case an internal DNS server is selected
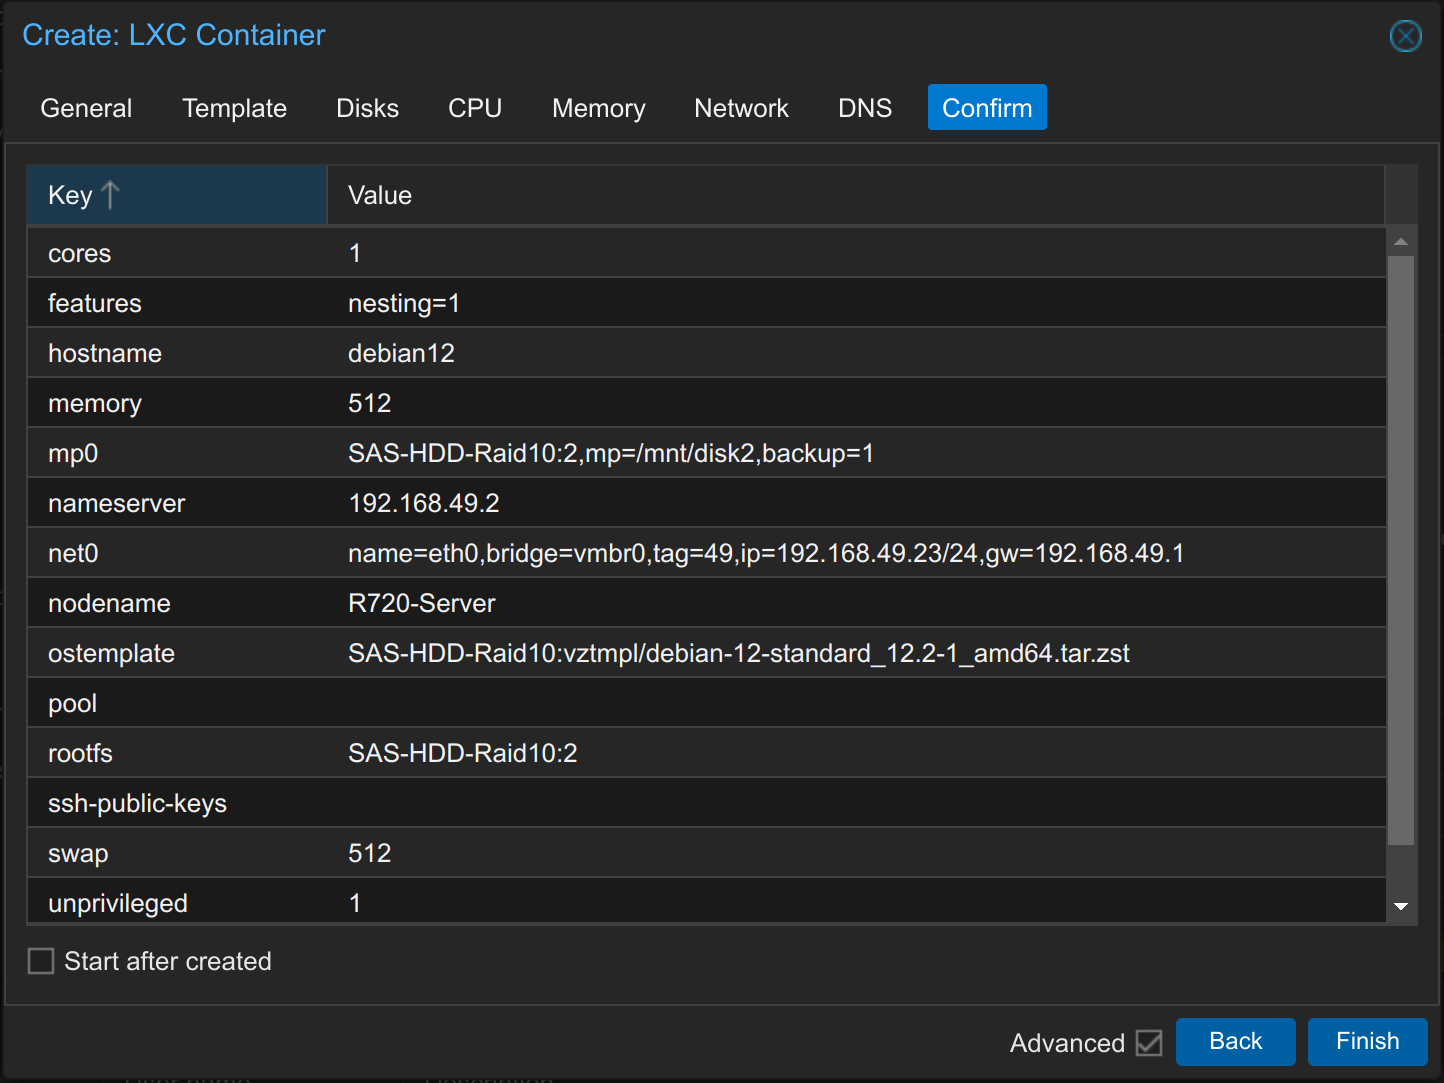
9. Create LXC Container – Confirm
Check all settings and press Finish. You can also select Start after created if you wish.
Now the LXC Container is being created.
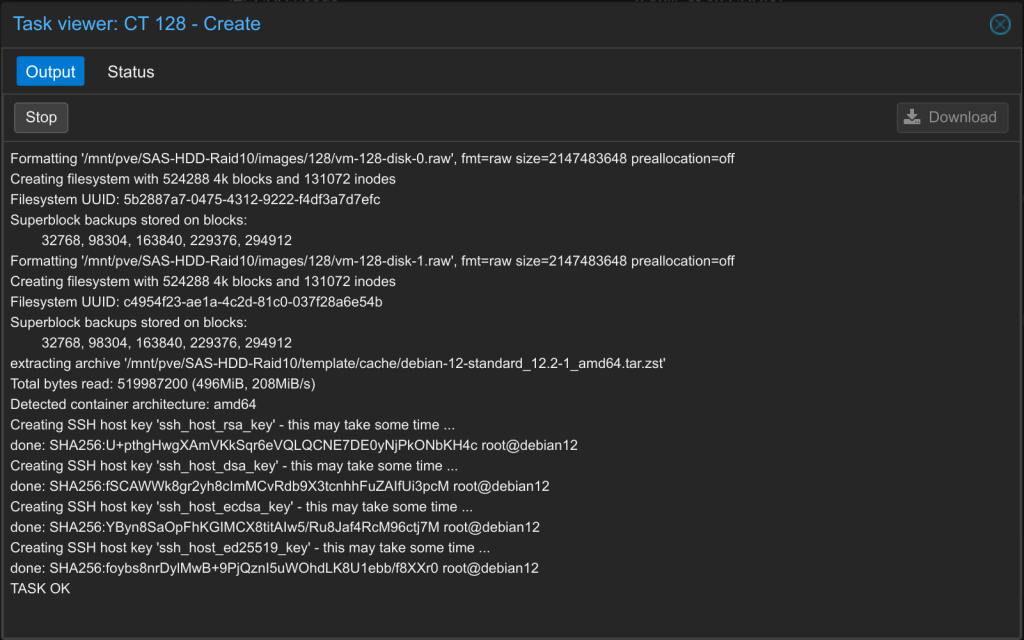
10. Create LXC Container – TASK OK
After the LXC container has been successfully created, TASK OK should appear at the end of the output.
Proxmox LXC Container Terminal
You have now created your Proxmox LXC container. You can now access the container via the console in the PVE web interface. To allow SSH access, you can modify the file /etc/ssh/sshd_config under Debian and add the line PermitRootLogin yes to enable root SSH access with password or create a non-root user for ssh. Then restart the SSH service with service ssh restart.


Leave a Reply