
In this tutorial I will explain how to install a Self-hosted Joplin LXC Container including EMAIL configuration. Alternatively I can recommend Standard Notes.
To do this, first create a Debian 12 LXC container. I recommend 1 core, 1GB Ram and 4GB Rom.
1. Install Updates and dependencies
The following commands are used to install the required dependencies.
apt install apt-transport-https ca-certificates curl gnupg2 software-properties-common -y
curl -fsSL https://download.docker.com/linux/debian/gpg | apt-key add -
add-apt-repository "deb [arch=amd64] https://download.docker.com/linux/debian $(lsb_release -cs) stable"
apt update
2. Install Docker
Docker will be installed now.
apt install docker-ce docker-compose -y
3. Install self-hosted Joplin LXC Container
Create a folder in which you want to save your work files. We will refer to this folder as the working directory.
mkdir joplin
cd joplin
4. Create Docker compose file
Now create docker-compose.yml and add the following.
nano docker-compose.yml
# This is a sample docker-compose file that can be used to run Joplin Server
version: '3'

services:
    db:
        image: postgres:16
        env_file: .env
        volumes:
            - ./data/postgres:/var/lib/postgresql/data
        ports:
            - "5432:5432"
        restart: unless-stopped
        environment:
            - POSTGRES_PASSWORD=${POSTGRES_PASSWORD}
            - POSTGRES_USER=${POSTGRES_USER}
            - POSTGRES_DB=${POSTGRES_DATABASE}
    app:
        image: joplin/server:latest
        env_file: .env
        depends_on:
            - db
        ports:
            - "22300:22300"
        restart: unless-stopped
        environment:
            - APP_PORT=22300
            - APP_BASE_URL=${APP_BASE_URL}
            - DB_CLIENT=pg
            - POSTGRES_PASSWORD=${POSTGRES_PASSWORD}
            - POSTGRES_DATABASE=${POSTGRES_DATABASE}
            - POSTGRES_USER=${POSTGRES_USER}
            - POSTGRES_PORT=${POSTGRES_PORT}
            - POSTGRES_HOST=db
5. Create .env File and configure it
Now create an .env file and insert the file from Git.
touch .env
curl https://raw.githubusercontent.com/laurent22/joplin/dev/.env-sample > .env
The .env file must now be processed.
The # at the beginning of the following lines should be removed. In addition, the URL and password must be changed.
APP_BASE_URL=https://joplin.mydomainname.com
APP_PORT=22300
DB_CLIENT=pg
POSTGRES_PASSWORD=mysecurepassword
POSTGRES_DATABASE=joplin
POSTGRES_USER=joplin
POSTGRES_PORT=5432
POSTGRES_HOST=localhost
You can generate a secure password with the following command. This can then be used as POSTGRES_PASSWORD.
openssl rand -hex 32
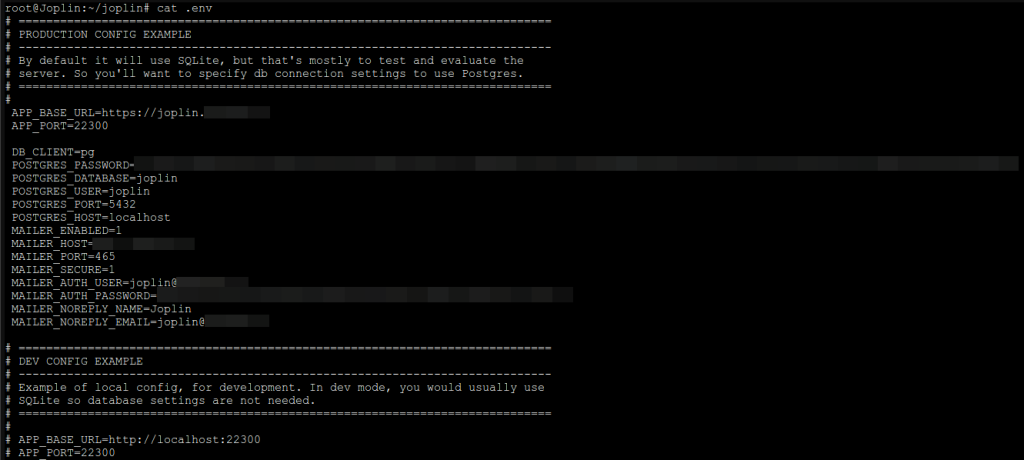
Optionally, add mail client settings to the .env file. HOST, USER, PASSWORD and EMAIL must also be changed.
MAILER_ENABLED=1
MAILER_HOST=smtp.mymailserver.com
MAILER_PORT=465
MAILER_SECURE=1
MAILER_AUTH_USER=joplin@mymailserver.com
MAILER_AUTH_PASSWORD=mysecurepassword
MAILER_NOREPLY_NAME=Joplin
MAILER_NOREPLY_EMAIL=joplin@mymailserver.com
This could then look like the following screenshot
5. Start Joplin server
You can now start the server with the following command.
docker compose pull && docker compose up -d
This takes a while. After that, the Joplin server is already running.
6. Proxy / Webserver Configuration
I recommend running Joplin behind a Nginx proxy. In this case, the configuration of the reverse proxy including SSL must of course be carried out.
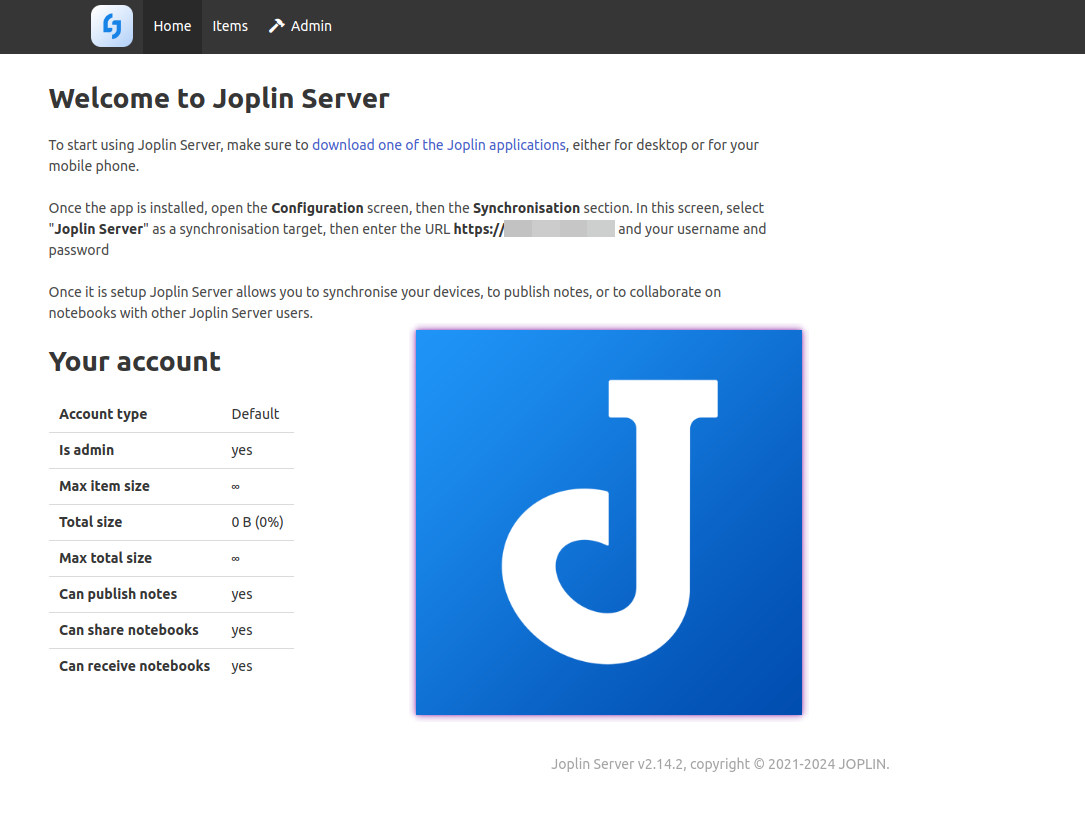
7. Login
Important! Log in directly and change the password. Optionally, you can also change the e-mail.
Default Username: admin@localhost
Default Password: admin
You can now create a new user on the web interface and log in to your server with this user in the client.
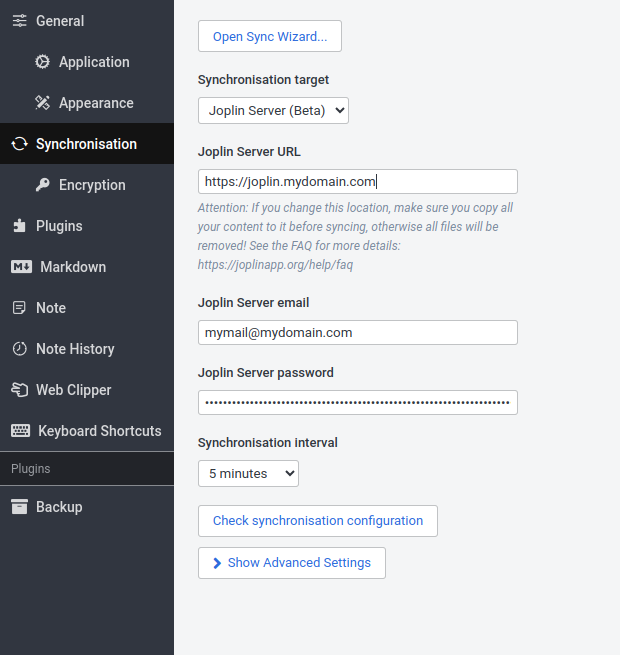
8. Activate synchronisation on your Client
You can download the client from the official Joplin website.
In the options under synchronisation, activate the connection to your own Joplin server.


Leave a Reply