

This tutorial explains how to install Ubuntu 24.04. We recommend that you do not install Ubuntu 24.04 before April 2024 on a productive system. If you want to do so, you can follow this tutorial. If you want to install Ubuntu 24.04 in a Proxmox VM, you can follow this proxmox qemu tutorial. If you want to know what’s new in Ubuntu 24.04 before the release, go on and install it.
1. Download Ubuntu 24.04 ISO
If you are reading this tutorial before the release of Ubuntu 24.04, download Ubuntu Daily Builds.
After the release, you can download Ubuntu 24.04 Release as normal.
2. Create bootable USB Stick
To create a bootable USB stick, you can use a program such as balenaEtcher. Alternatively, you can also create a multiboot stick with Ventoy.
3. Install Ubuntu 24.04
Start your computer from the USB boot stick you have just created.
Select Ubuntu.

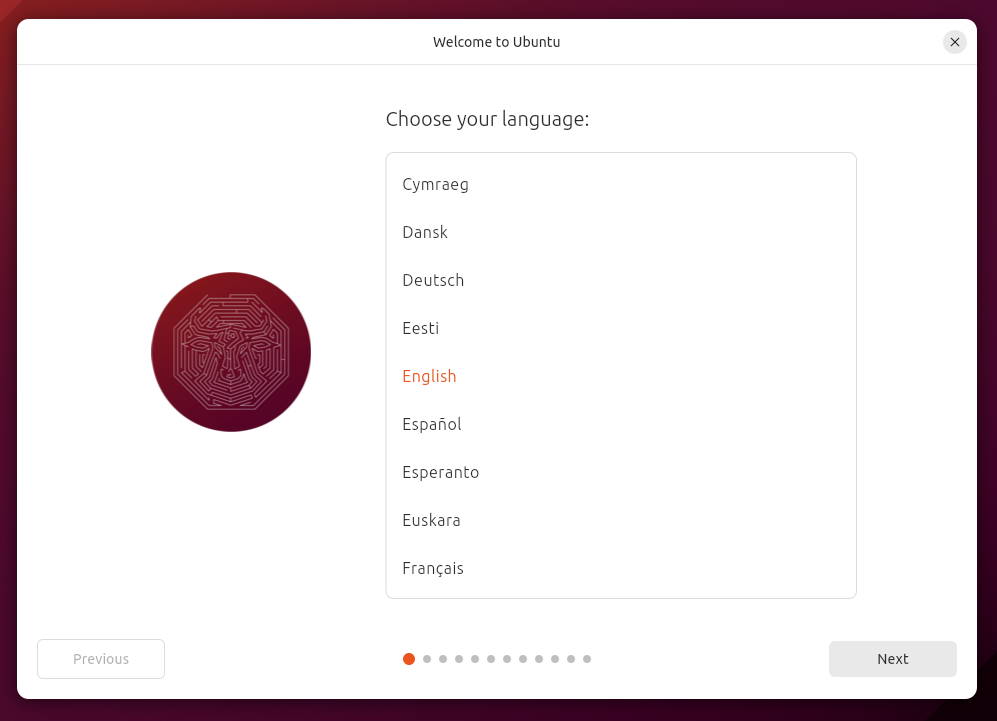
Select the language and click Next.
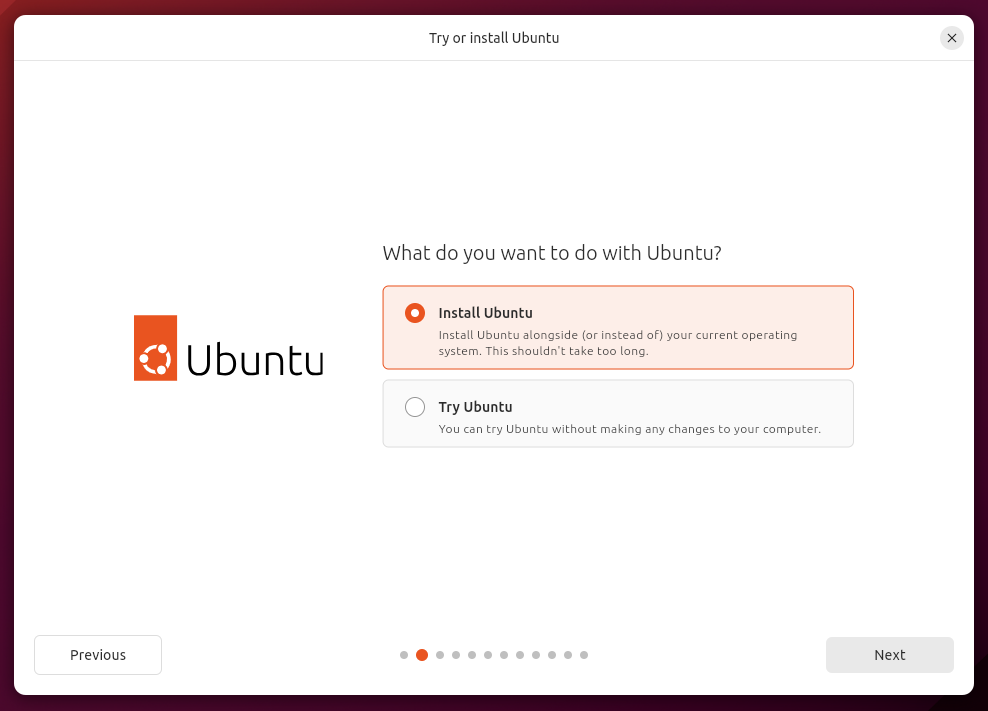
Select Install Ubuntu.
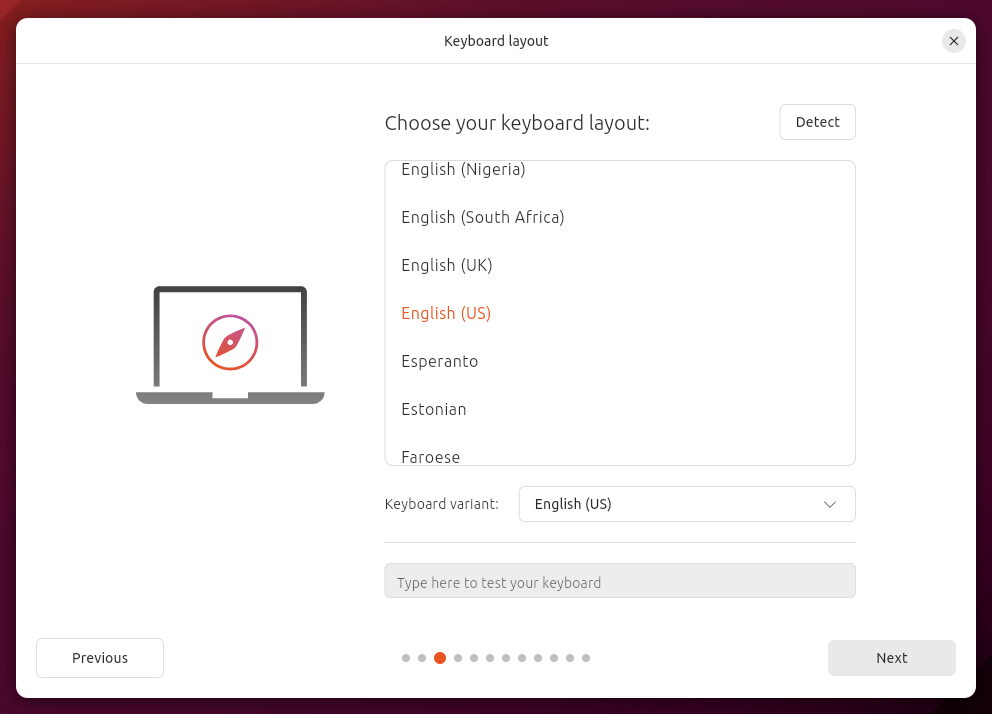
Select your Keyboard layout.
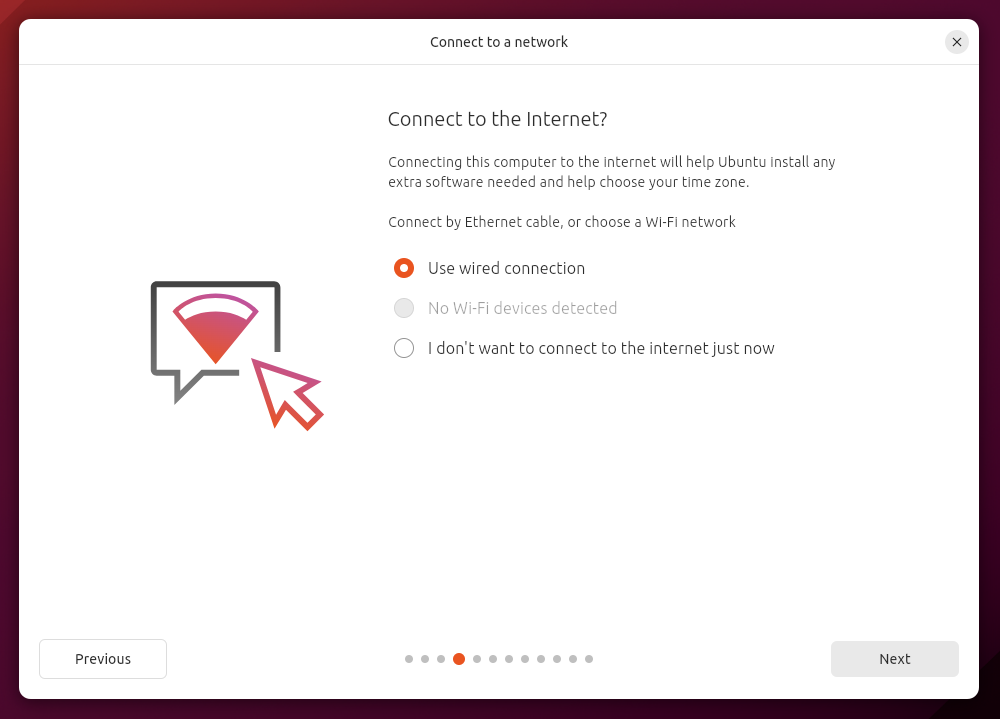
Select the internet connection type.
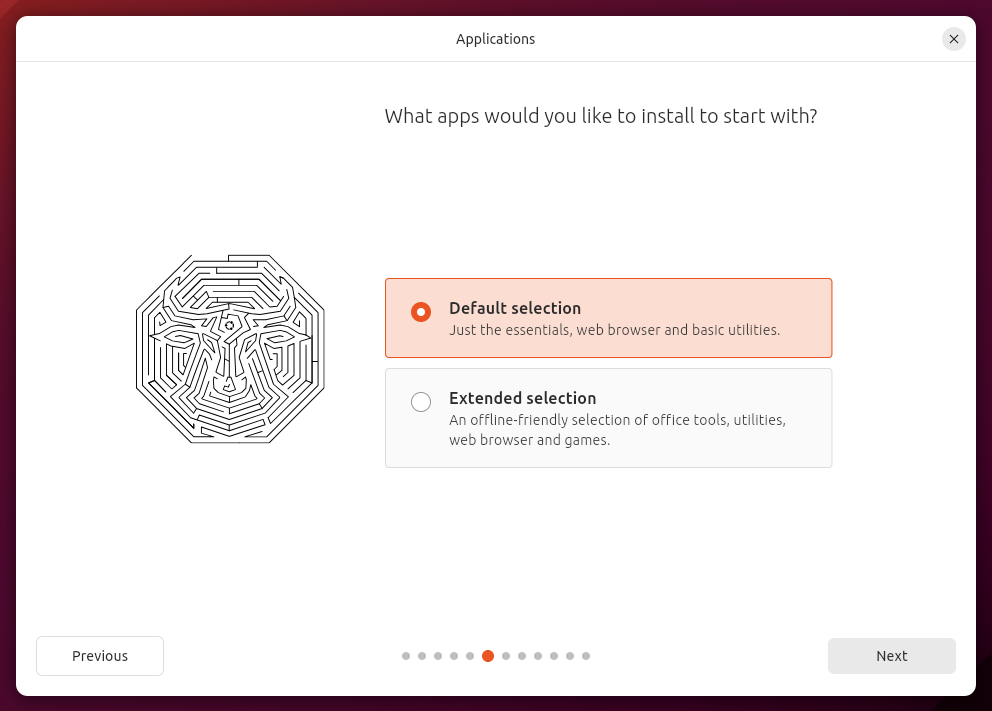
Select whether the default version or extended version should be installed.
If necessary, select that software should be downloaded during installation.

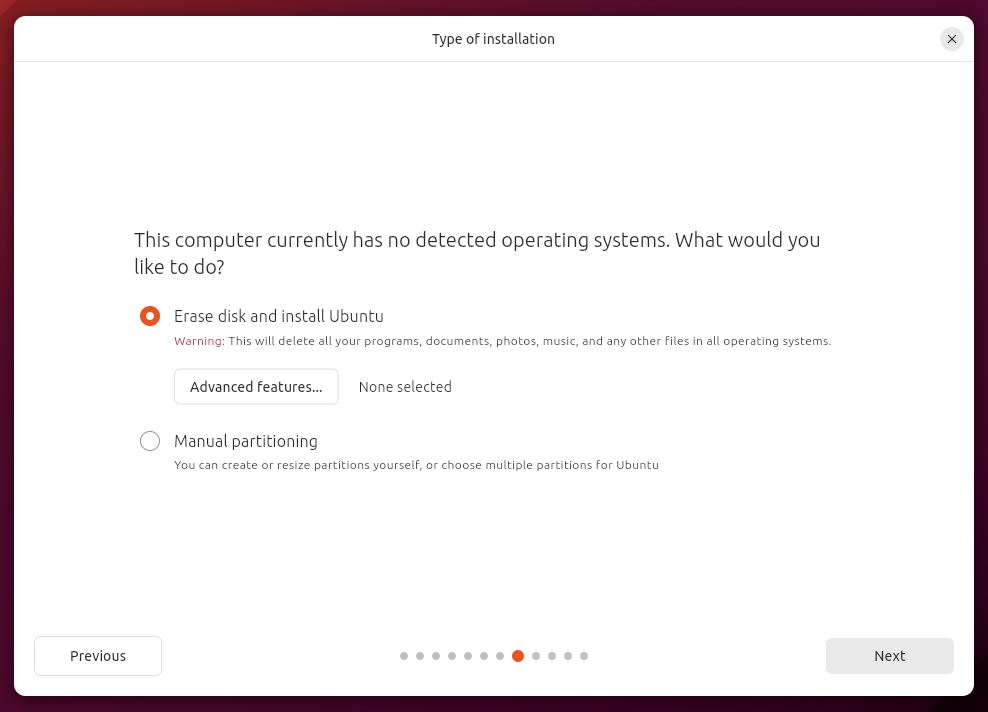
Select the installation type.
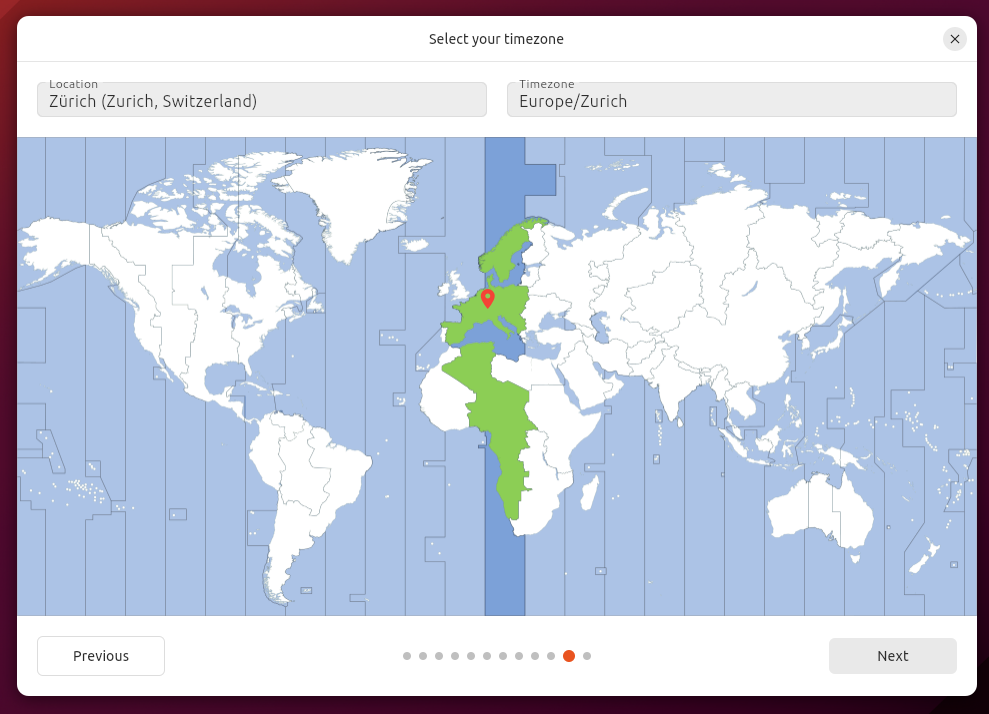
Now set your time zone
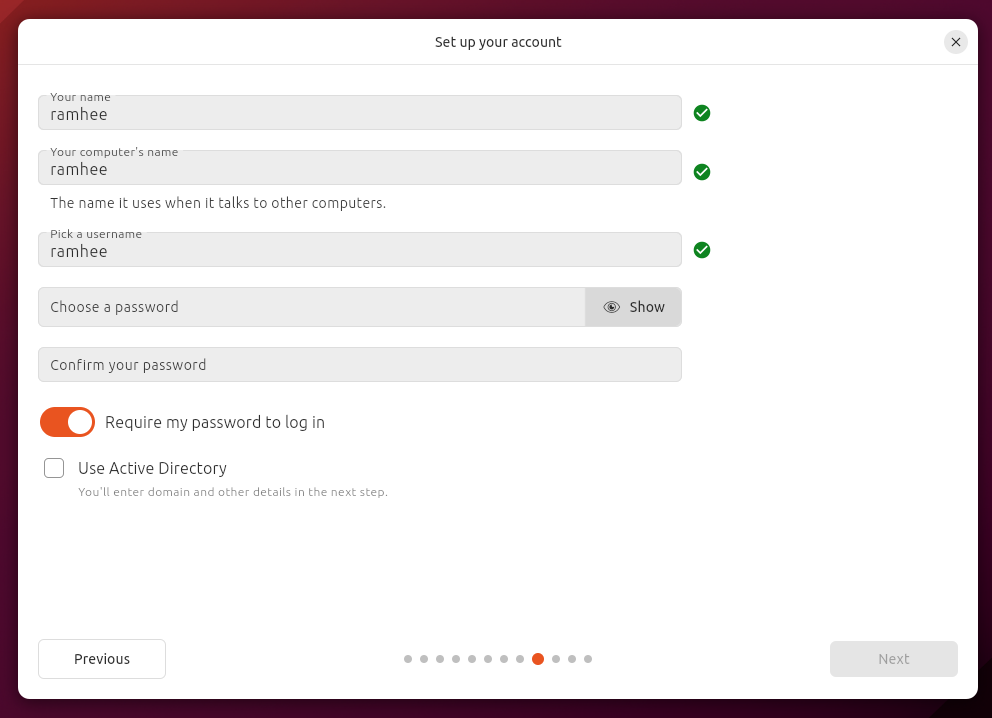
Now enter your name, computer name, user name and a strong password.
Deactivate Active Directory if you do not want to use AD.
Choose the timezone.
Ubuntu will now be installed automatically. This may take a while. It is recommended to have a coffee in the meantime.
Then restart the computer.
You are now finished installing Ubuntu 24.04.


Leave a Reply